blog
Smart LED Bulb Automation How to Create a Smart Lighting System for Your Home
In recent years, smart home automation has transformed the way we live, and one of the easiest ways to begin building your smart home is through smart lighting. A smart LED bulb system not only adds convenience but also enhances your home’s energy efficiency and security. The ability to control your lights remotely, schedule them, and even adjust them based on your mood or the time of day is just the beginning of what smart lighting can offer. In this guide, we will walk you through the steps to create your very own smart lighting system using smart LED bulbs, and show you how to automate your lights for maximum convenience and energy savings.
Why Choose Smart LED Bulbs?
Before we dive into the setup process, it’s essential to understand the benefits of smart LED bulbs. These bulbs are an upgrade over traditional lighting solutions in several ways:
- Energy Efficiency: Smart LEDs use much less power than traditional incandescent or halogen bulbs, helping you save on energy bills.
- Remote Control: You can control the lights from anywhere using your smartphone or voice assistants like Amazon Alexa, Google Assistant, or Apple HomeKit.
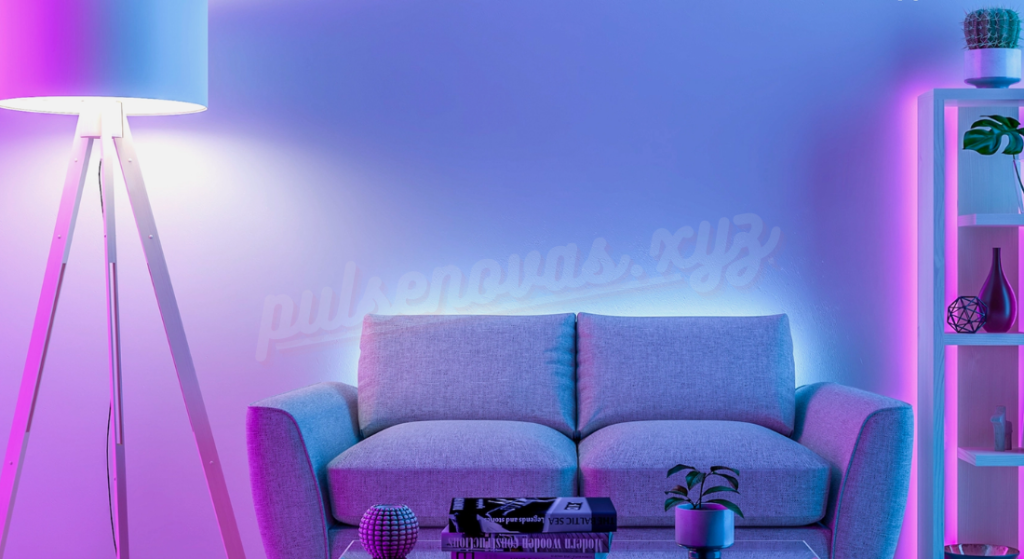
- Customization: Many smart LED bulbs allow you to adjust brightness, color, and even temperature to create the perfect atmosphere.
- Scheduling: Set your lights to turn on or off at specific times, ensuring you never walk into a dark room again and save energy when you don’t need the lights on.
- Security: Automating your lights can help deter burglars by mimicking your presence when you’re away, increasing the security of your home.
Now that you understand the benefits, let’s take a look at how you can set up and automate a smart LED bulb system in your home.
Step 1: Choose the Right Smart LED Bulbs
The first step is selecting the smart LED bulbs that best suit your needs. There are many options available, so it’s important to consider the following factors:
- Compatibility: Make sure the bulbs are compatible with your smart home ecosystem. Popular options include Philips Hue, LIFX, Wyze, and TP-Link Kasa. Check whether they work with your voice assistant or smart home hub.
- Brightness: LED bulbs come in various brightness levels, measured in lumens. Choose bulbs with the right brightness for each room in your home, depending on the purpose (e.g., reading, ambiance, or general lighting).
- Color and White Temperature: Some smart LED bulbs offer adjustable colors, while others focus on white light temperature ranging from cool to warm. Consider how you want your space to look at different times of day.
- Control Features: Some smart bulbs allow for dimming, while others offer full-color spectrum control, including RGB (Red, Green, Blue) options for creating mood lighting.
- Price: The cost can vary greatly depending on the brand, features, and overall quality. Compare your options to find the best value for your needs.
Step 2: Set Up a Smart Home Hub (If Needed)
Most smart LED bulbs need a smart hub or a compatible smart speaker to connect to your home Wi-Fi network and control them remotely. Some bulbs, like Philips Hue, require their own dedicated hub, while others, such as LIFX or Wyze, can connect directly to your Wi-Fi without the need for a hub.
If your bulbs require a hub, make sure it is compatible with the voice assistants or platforms you intend to use. Some popular hubs include:
- Amazon Echo (Alexa)
- Google Nest Hub (Google Assistant)
- Apple HomePod (Apple HomeKit)
If your bulbs can connect directly to Wi-Fi, the process is even easier, and you won’t need a separate hub. In this case, you can connect your bulbs straight to your home router, and they’ll be controlled through the corresponding app or voice assistant.

Step 3: Install the Smart LED Bulbs
The next step is to install your smart LED bulbs. Installing them is as simple as replacing your existing light bulbs:
- Turn off the power: Make sure the light is switched off before installing the bulbs.
- Screw in the bulbs: Place the smart LED bulbs into the light fixtures, just like any regular bulb.
- Turn the power back on: Switch the light back on once the bulbs are securely in place.
If your bulbs are color-changing or have adjustable brightness, it’s recommended to check if the app or setup process requires pairing or calibration.
Step 4: Download the Companion App
To control and automate your smart LED bulbs, you’ll need to download the relevant companion app on your smartphone. Most smart bulbs come with their own app, such as:
- Philips Hue: The Hue app is used for Philips Hue lights.
- LIFX: The LIFX app is used to control LIFX bulbs.
- Kasa Smart: Used for TP-Link bulbs.
- Wyze: Used for Wyze bulbs.
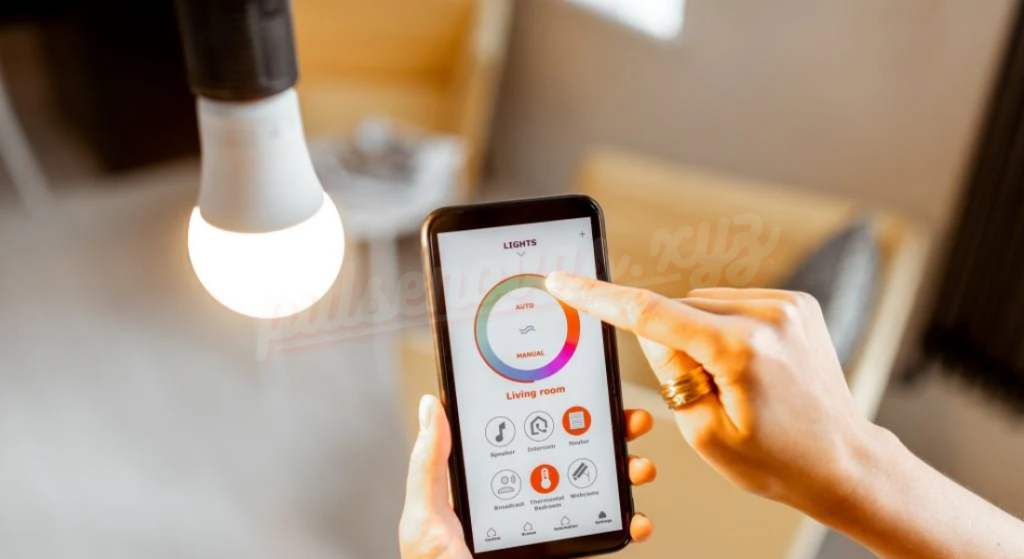
These apps allow you to control the lights remotely, change the colors, adjust the brightness, and create lighting schedules. They are available for both iOS and Android.
Once you’ve installed the app, follow the instructions to connect the bulbs to your Wi-Fi network. This typically involves ensuring that your phone is connected to the same network and following the pairing process.
Step 5: Automate Your Lighting System
Now that your smart LED bulbs are set up, you can start automating your lighting system. There are a variety of ways to automate your lights:
- Scheduling: Set your bulbs to turn on or off at specific times of day. This is ideal for ensuring that your lights turn on when you get home from work or automatically turn off when you go to bed.
- Scenes: Many apps allow you to create customized lighting scenes, such as a movie mode with dimmed lights or a reading mode with brighter, cooler tones.
- Geofencing: Use your phone’s location to automatically turn lights on or off when you leave or return home. This feature can be used to save energy by ensuring lights are off when you’re not home.
- Voice Control: Integrate your smart LED bulbs with voice assistants like Amazon Alexa, Google Assistant, or Apple Siri. Simply ask your assistant to turn on or off your lights, change the color, or adjust the brightness.
- Routines: Create routines that trigger different actions based on specific conditions. For example, you can set your lights to gradually brighten in the morning to simulate a natural sunrise or dim in the evening for a relaxing atmosphere.
- Smart Sensors: Add motion sensors that automatically turn on the lights when someone enters the room and turn them off when the room is empty. This can save energy and add convenience.
Step 6: Maintain and Expand Your System
Once you’ve set up your smart lighting system, you can continue to expand and enhance it. Over time, you may want to add additional bulbs to other rooms, integrate with other smart home devices, or add more advanced features like smart switches or dimmers. You can also control your lights with smartphone apps, smart speakers, or even your smartwatch for quick adjustments.
By gradually increasing the number of smart LED bulbs in your home, you can create a comprehensive lighting system that adapts to your lifestyle, enhances your home’s ambiance, and increases energy efficiency.
Conclusion
Creating a smart lighting system with smart LED bulbs is one of the easiest and most impactful ways to start automating your home. With the ability to control your lights remotely, schedule lighting, and create customized scenes, you’ll enjoy increased convenience, energy savings, and a personalized atmosphere throughout your home. Whether you’re enhancing your home office, creating a cozy living room, or ensuring that your home is secure when you’re away, smart LED bulbs can be an essential tool in making your home smarter and more efficient.
By following the steps outlined above, you’ll be well on your way to building a smart lighting system that suits your needs, enhances your daily life, and helps you save energy and reduce your carbon footprint. So go ahead, explore the possibilities, and enjoy the convenience and beauty of smart lighting in your home!

